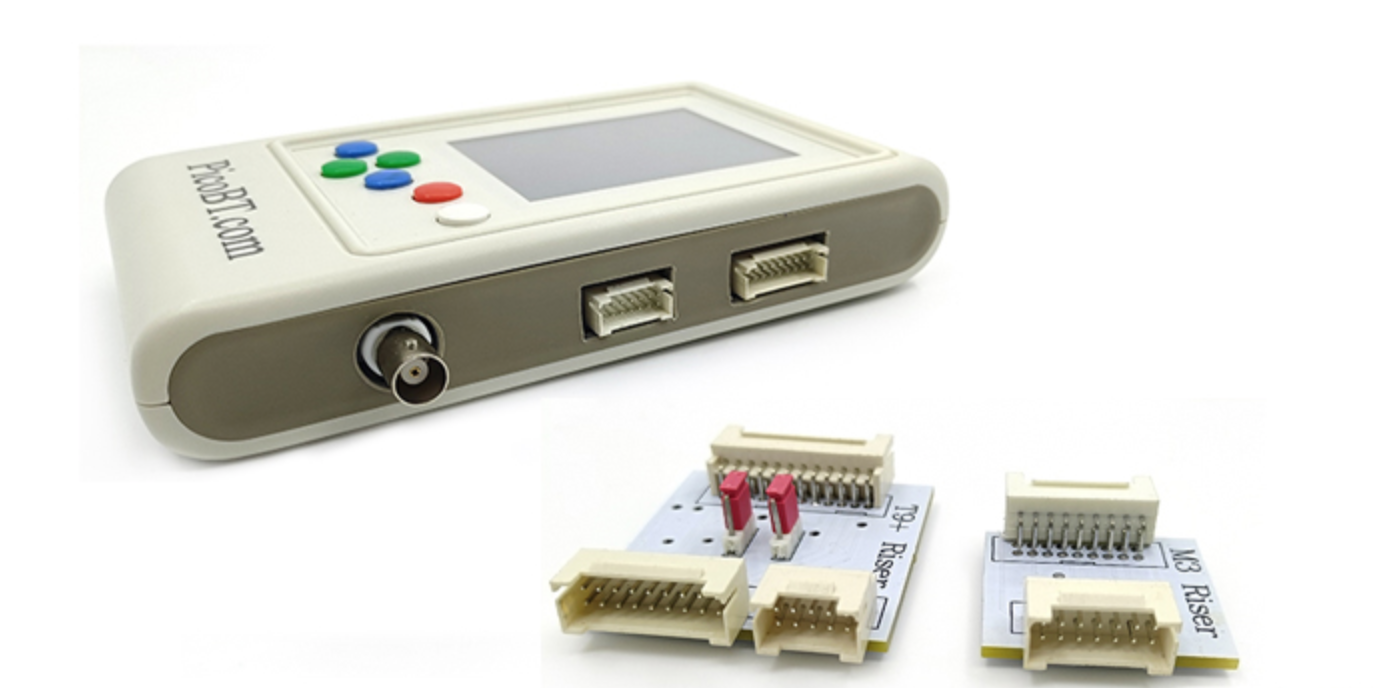
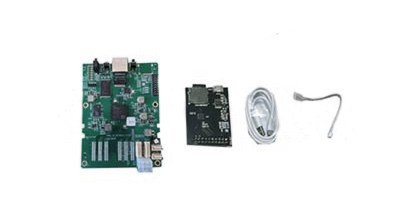
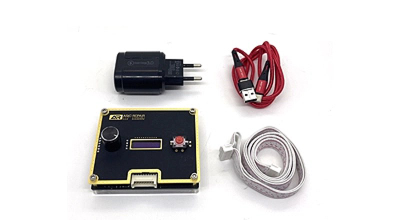
Innosilicon A10 hash board tester / Innosilicon A10 test fixture / Innosilicon A10 Pro test jig
Faulty chips detect device test fixture A10 A10pro series hashboard testing tool
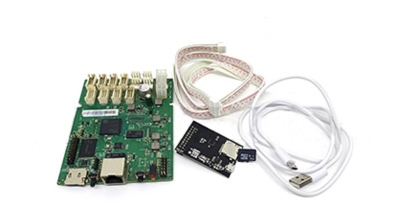
Parts List:
Innosilicon A10 control board * 1
Core moving test board * 1
TF cassette file * 1
Serial USB cable * 1
14 pin data cable * 1
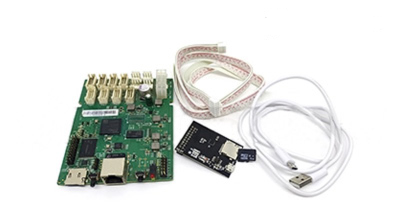
How to use the Innosilicon A10 series test fixture?
1. Format the TF card into FAT32 mode, copy the test file to the TF card, and then insert it into the card slot of the test board.
2. Install the test board on the A10 control board.
3. Use the USB cable to connect the test board and the computer, then open the device manager of the computer, find the corresponding port, and set the baud rate of the port to 115200.
4. Connect the hash board and the control board with the 14P data cable.
5. Connect the miner PSU to the hash board and control board.
6. Open the Innosilicon test serial port software, select the same serial port, set the baud rate to 115200, then click "Open Serial Port", and turn on the PSU to supply power to the control board and hash board at the same time, then the test software starts to test the hash board automatically.


 64827.63USD
 51.22USD
 1.34USD
 0.09USD
 1866.42USD
 8.18USD
 588.72USD
 78.02USD
 0.08USD
 0.03USD
 0.08USD
 Favorites
 History
 Feedback
